![Mozart Data Logo - Purple (2).png]](https://help.mozartdata.com/hs-fs/hubfs/Mozart%20Data%20Logo%20-%20Purple%20(2).png?height=30&name=Mozart%20Data%20Logo%20-%20Purple%20(2).png)
Adding Mozart Data Users
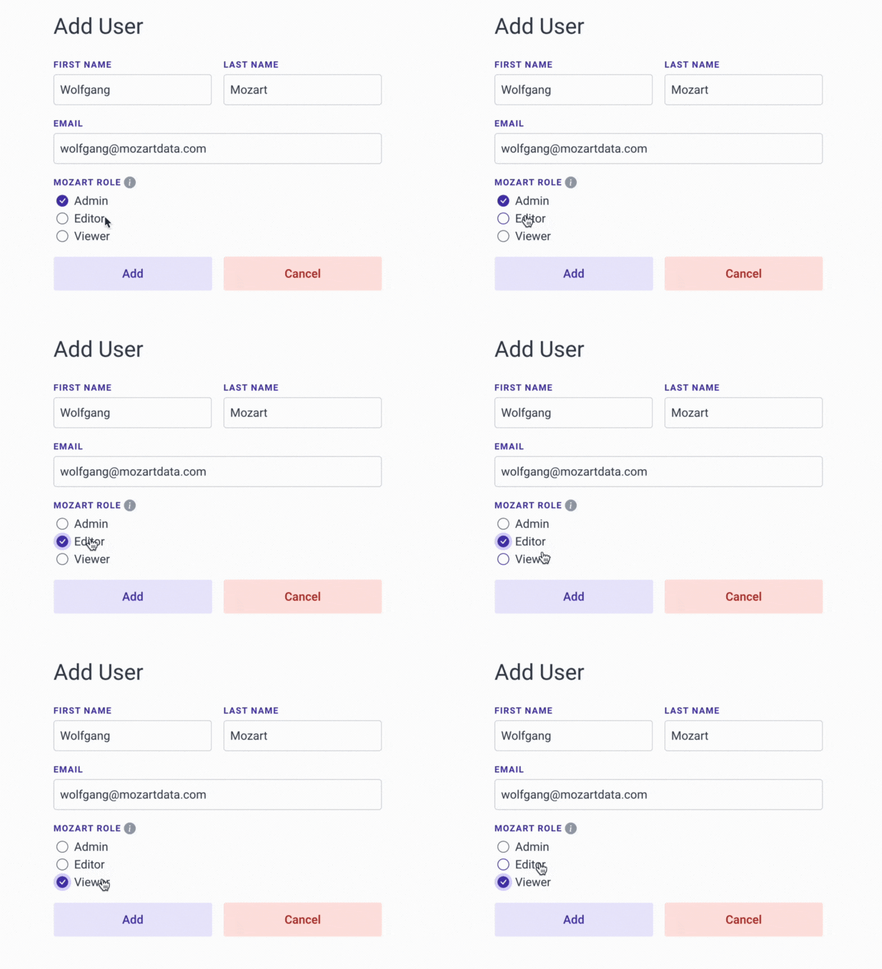
To add new users to your organization, follow these steps:
1. Go to the Users section.
2. Locate and click on the 'Add User' button.
3. Provide the name and email address of the user you wish to add.
4. Assign them a role from the available options (See User Roles & Permissions below).
5. Click on the Add button.
6. Once you click Add, the user will receive an email containing a link to verify their email and reset their password.
User Roles & Permissions
Users in Mozart Data can be assigned one of the following three roles: Admin, Editor, or Viewer. These roles determine which actions they can perform as well as the objects they have access to.
Only the users with the Admin role can change or assign roles to other users. User roles can be changed by going to Settings > Users.
| Admin | Editor | Viewer | |
| Invite / Remove Users | ✅ | ❌ | ❌ |
| Assign User Roles | ✅ | ❌ | ❌ |
| Add / Remove Connectors & Edit Schedules | ✅ | ✅ | ❌ |
| Create / Delete Transforms & Edit Schedules | ✅ | ✅ | ❌ |
| Run Ad-Hoc Queries | ✅ | ✅ | ✅ |
| View Alerts | ✅ | ✅ | ✅ |
| Create / Edit / Delete Alerts | ✅ | ✅ | ❌ |
| Generate Snowflake Users from Mozart | ✅ | ✅ | ✅ |
| Assign Snowflake Roles to Mozart Users | ✅ | ❌ | ❌ |
| View Usage Information | ✅ | ✅ | ❌ |
| Require Single-Sign On for Company | ✅ | ❌ | ❌ |
| View User Actions | ✅ | ✅ | ✅ |
| Add / Edit Table & Column Descriptions | ✅ | ✅ | ❌ |
| Create / Delete Slack Integration | ✅ | ❌ | ❌ |
| Create / Delete GitHub Integration | ✅ | ❌ | ❌ |
| Set up Okta Configuration | ✅ | ❌ | ❌ |
| Google Sheet Destination | ✅ | ✅ | ❌ |
| Export Query Results (CSV or Google Sheets) | ✅ | ✅ | ✅ |