The results of a transform are saved in a new table that is concise and easily digested. That table can then be used as the source of truth for analysis across an organization.
Mozart automatically runs Transforms every hour so your view of the world is always up-to-date. Many of your Transforms will be the final output of your analysis, intended to be consumed by humans, dashboards, BI Tools, or other programs.
Transforms can be used to:
- Combine data from multiple sources.
- Reduce tables down to the most core, actionable data
- Format data.
- Fix invalid column values, remove outliers, and otherwise correct errors in datasets.
To add a Transform:
- On the header, click on the Create Transform button. Alternatively, click the "+" button from anywhere within Mozart and select the "Create Transform" option.

- Specify the Schema destination and table name for your Transform. This will create a table with that name in the specified schema, so it must have a valid SQL table name.
- [Optional] give your transform a description.
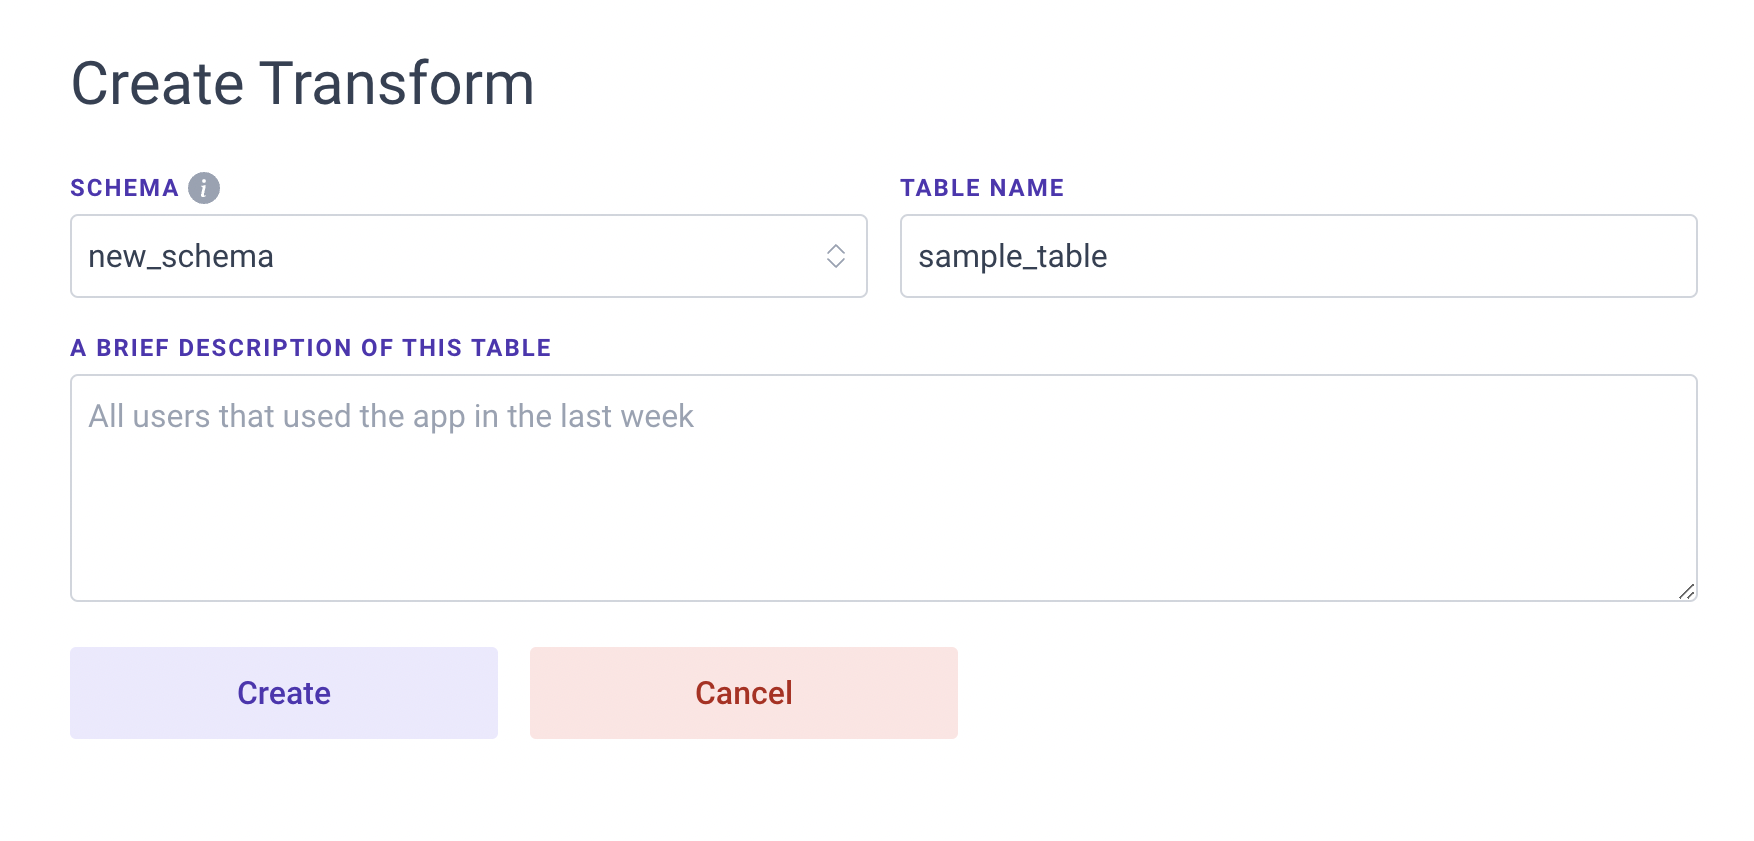
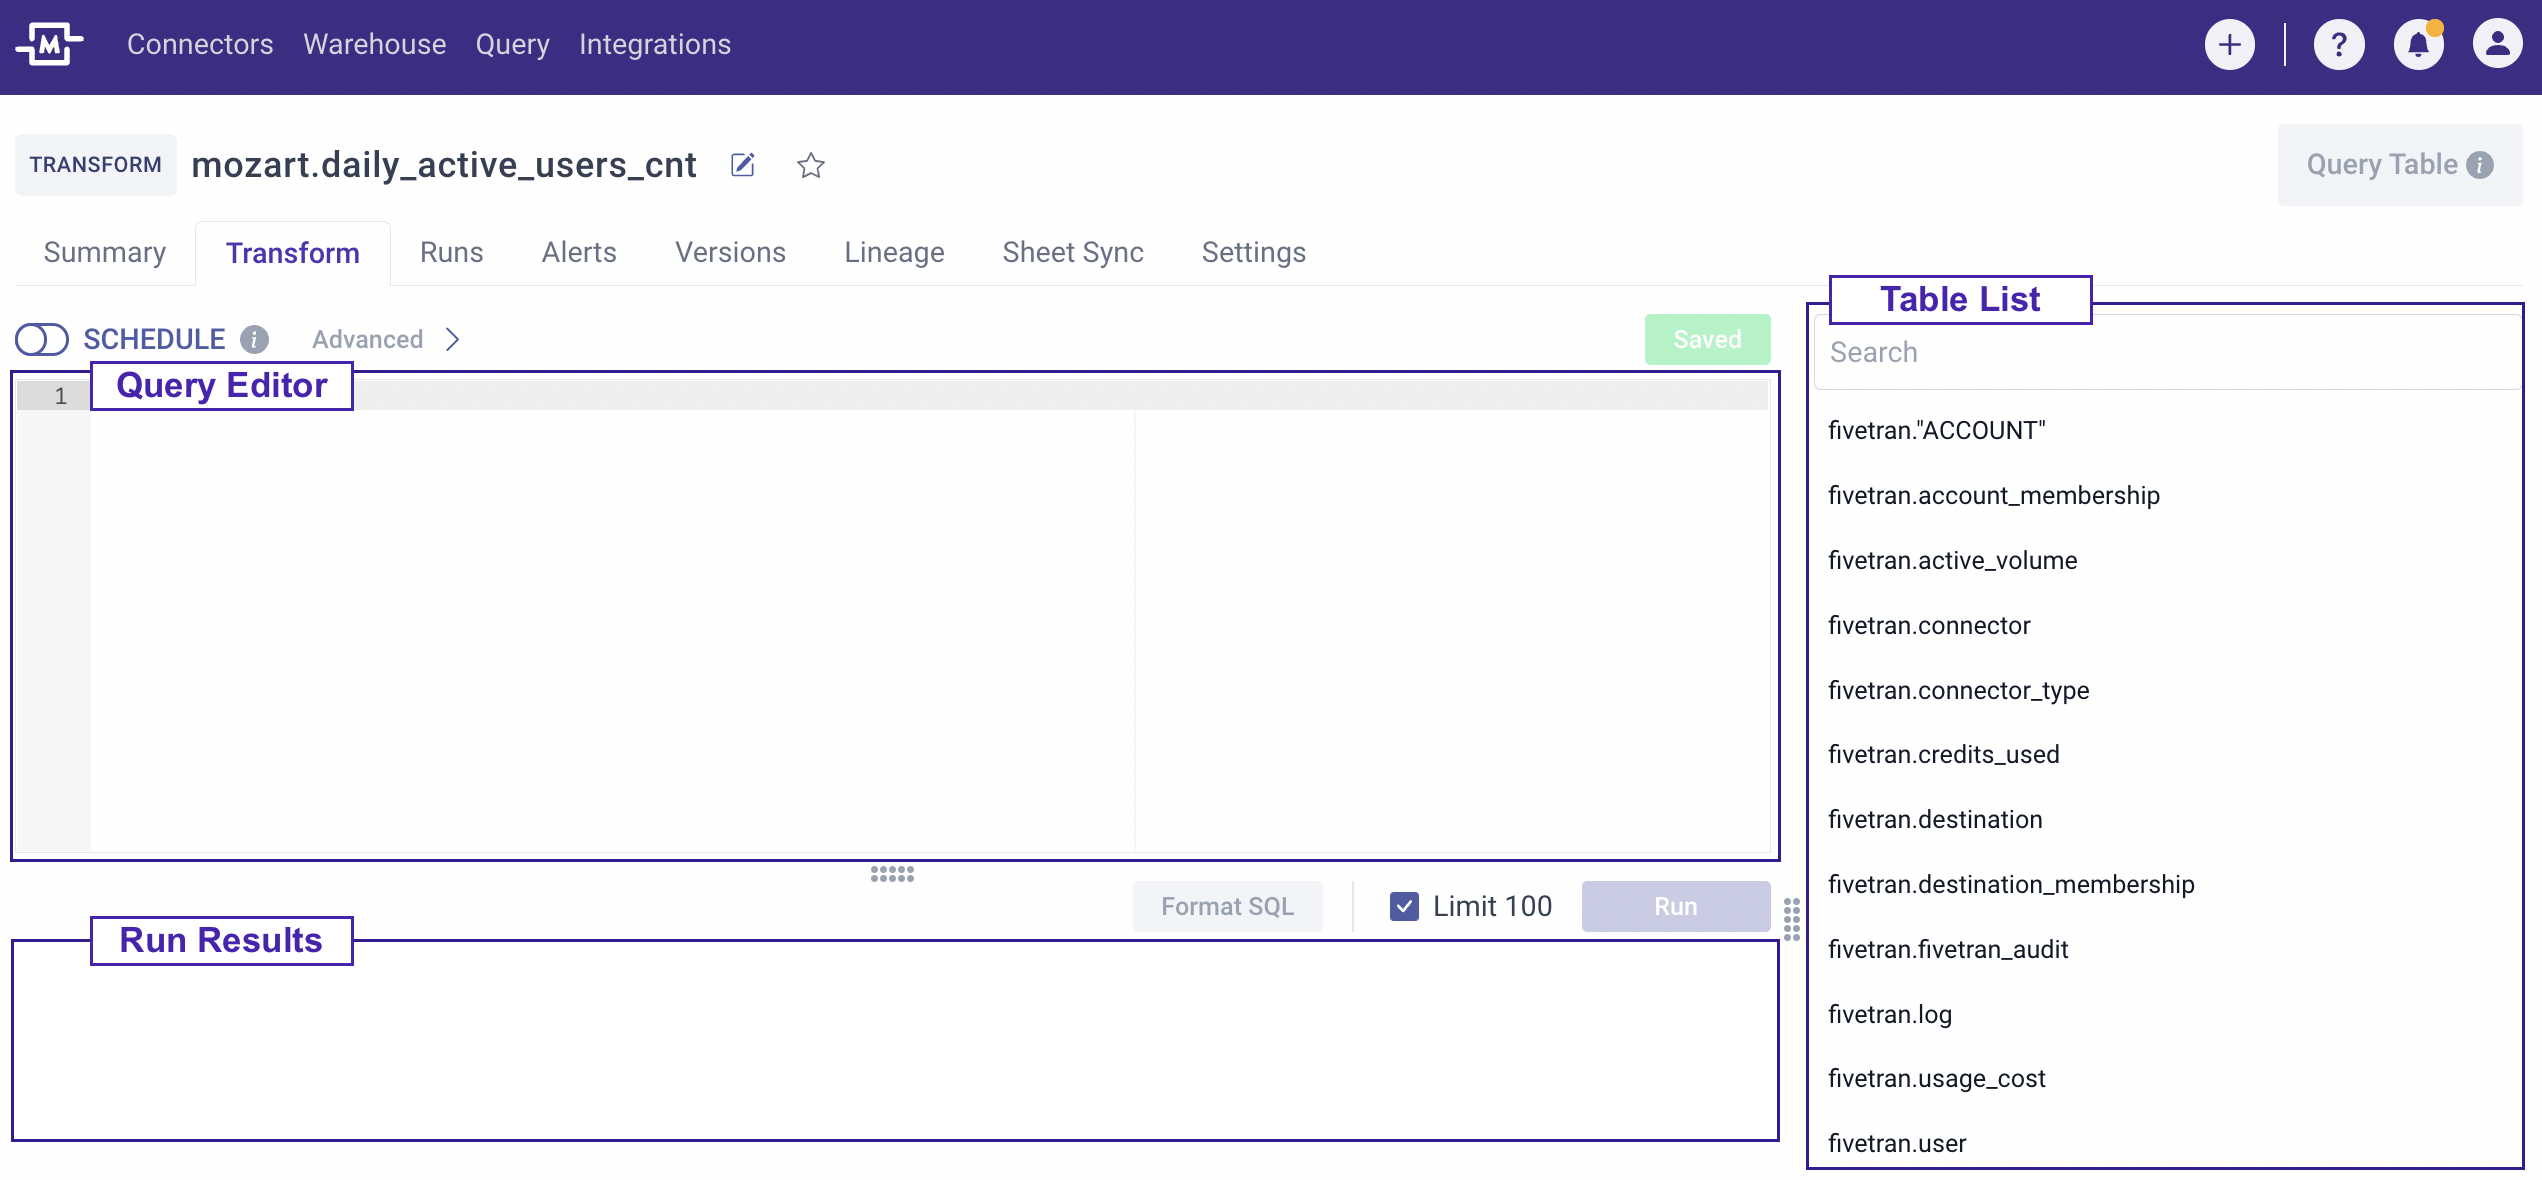
- Click 'Save' and you will be taken to the Transform page with three panes.
- Table List - The list of tables you can query.
- Query Editor - When your Transform makes a scheduled run, it will execute the query in this editor and will save the results to a new table with the same name as the Transform.
- Run Results - Shows the output of the query in the editor above.
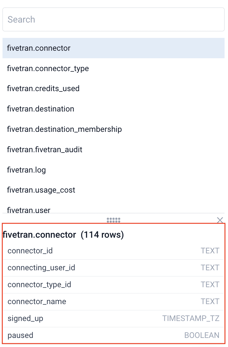
- Clicking on a table in the Table List will bring up the Table Details for that table. Note, that hovering your cursor over a column in the Table Details will show a sample of the data in that column.
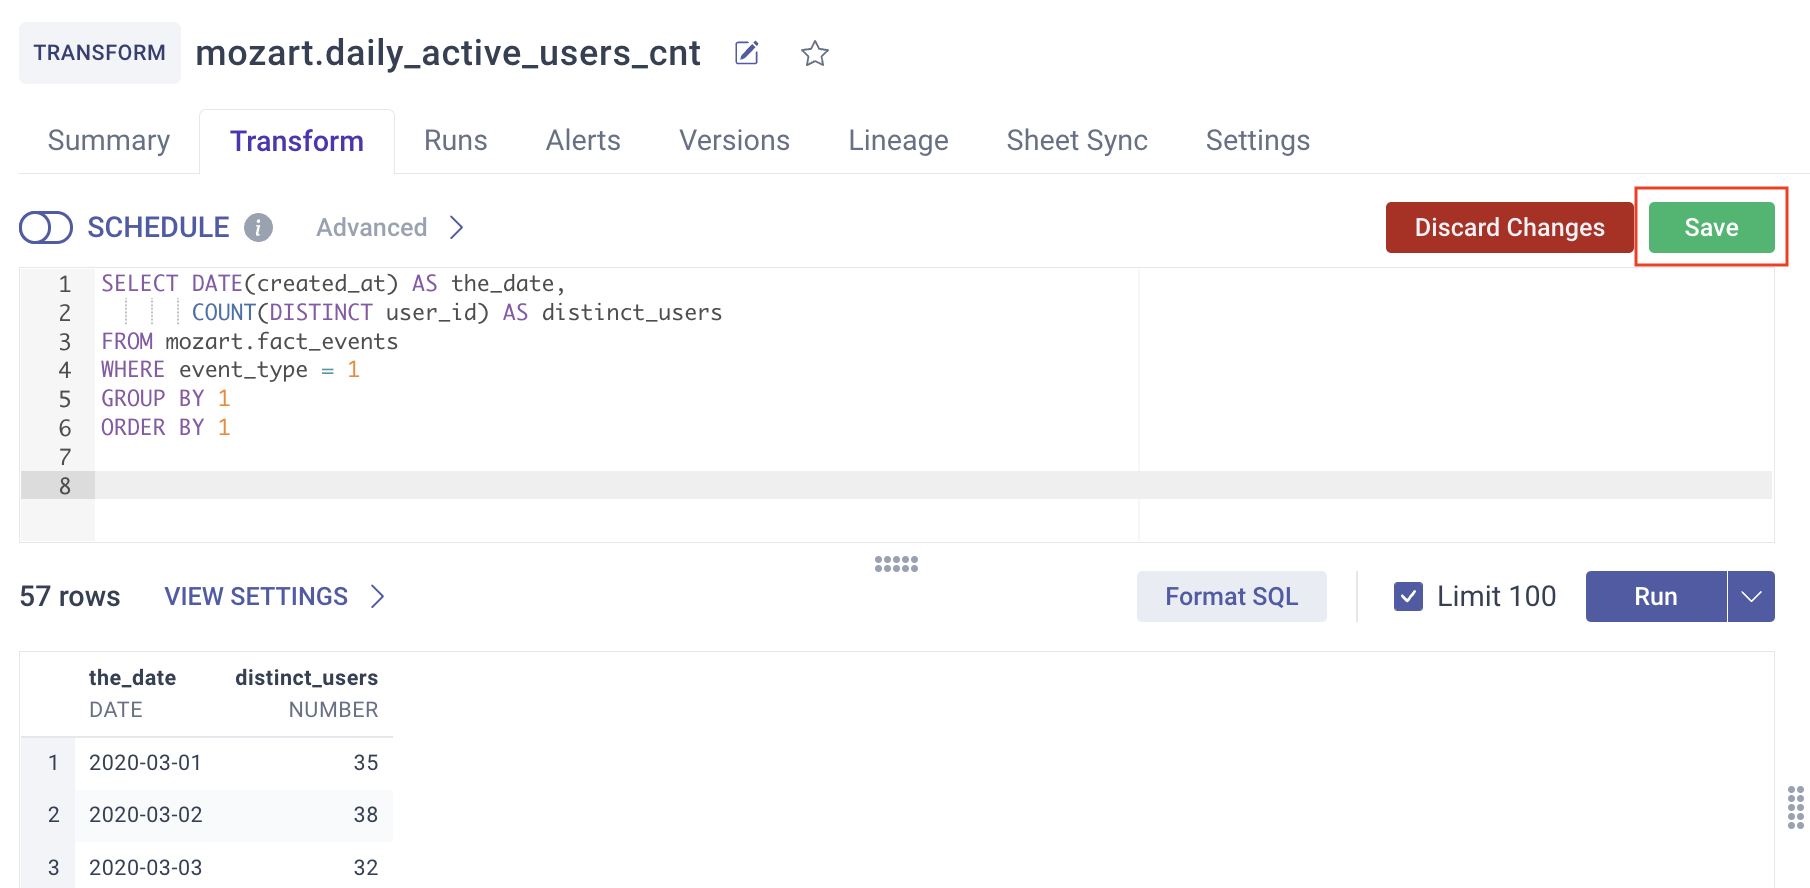
- Add a query to the Query Editor. Since this is your first Transform, go with something simple like
SELECT * FROM your_schema.your_table
Later on, you can edit this query to be something complicated. - Click the 'Run' button to make sure your table is free of errors. The Run Results will populate with a list of results or an error message.
- Click 'Save'.
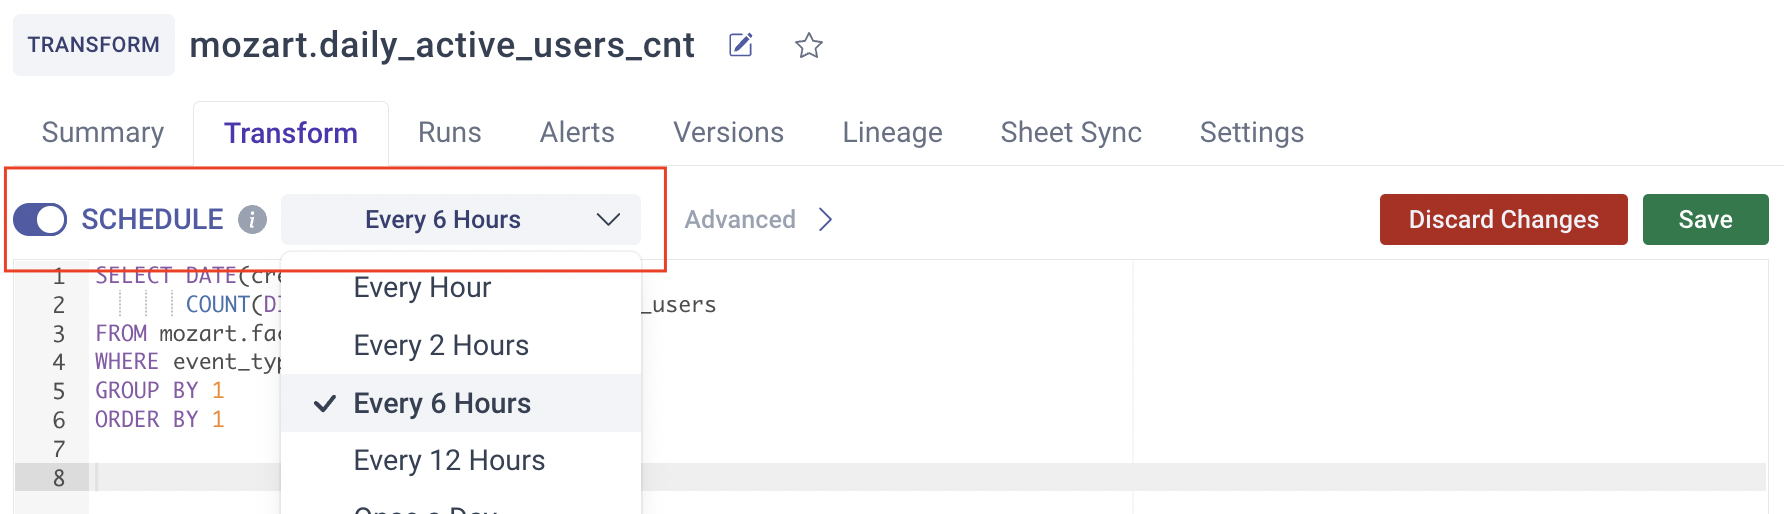
- Scheduling: You can create the transform and schedule it to re-run at a set cadence.This is a good way to ensure your table is refreshed with new data. To do this, toggle "Schedule" on above the Query Editor and select the frequency.
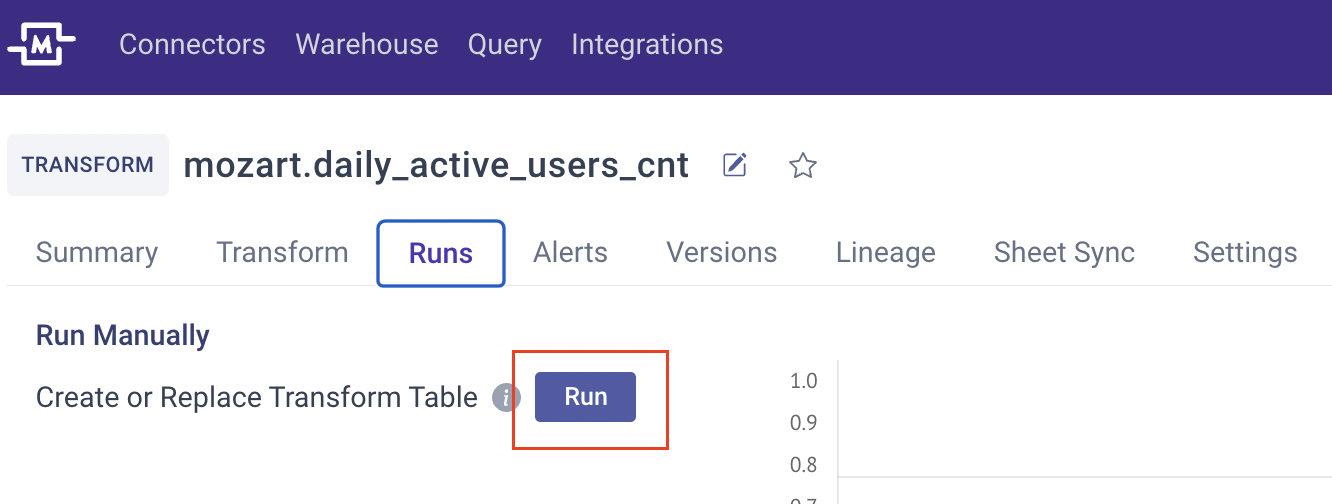
- Manual Runs: You can manually create a table by clicking the Run Manually Now button. It's a good idea to click this once when you first create a new Transform. This button is also useful if you just synced new data or just edited your Transform and you want to make sure your Transform table has the most up to date data in it.
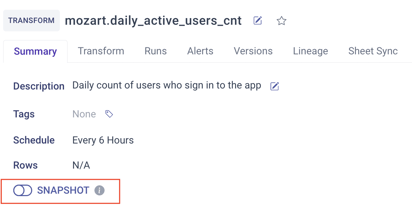
- If you want to turn on snapshotting for the Transform table, you can toggle on "Snapshot" from the Summary page. This feature can can also be turned on/off in the Warehouse section.
- Once your Transform has been created, the Transform table will be listed in the Transform section of your Warehouse.
What's Next